Tips for making your beeswax wraps last well over a year
Beeswax wraps were my gateway purchase into a more sustainable, low waste lifestyle. I bought my first set from an Ontario farmer, at the Buy Good Feel Good show around 2017. At the time, they were something innovative and intriguing - today they are a kitchen staple in my eco-home.
All I need, in a household of two, is one variety pack of beeswax wraps. I use the smallest one for miscellaneous half used fruits or veggies - cucumbers, lemons and limes etc. The medium size is dedicated to whatever cheese is in our fridge at all times, and the large is used mainly for melons, leftovers and herbs. See here for a selection of variety packs of beeswax wraps made in BC by Golidlocks Goods.
My first set of beeswax wraps, started to deteriorate after a few months, but this was because I was not caring for them properly. I have been using my current set of wraps for over a year now, and like I said - the medium size is used constantly for our rotation of cheese blocks. Here's how I make the most out of my beeswax wraps:
1. Wash with cold water
My first big mistake was washing beeswax wraps with hot water. This caused the film of wax to melt and was redistributed once hardened, and led to cracking and later crumbling.
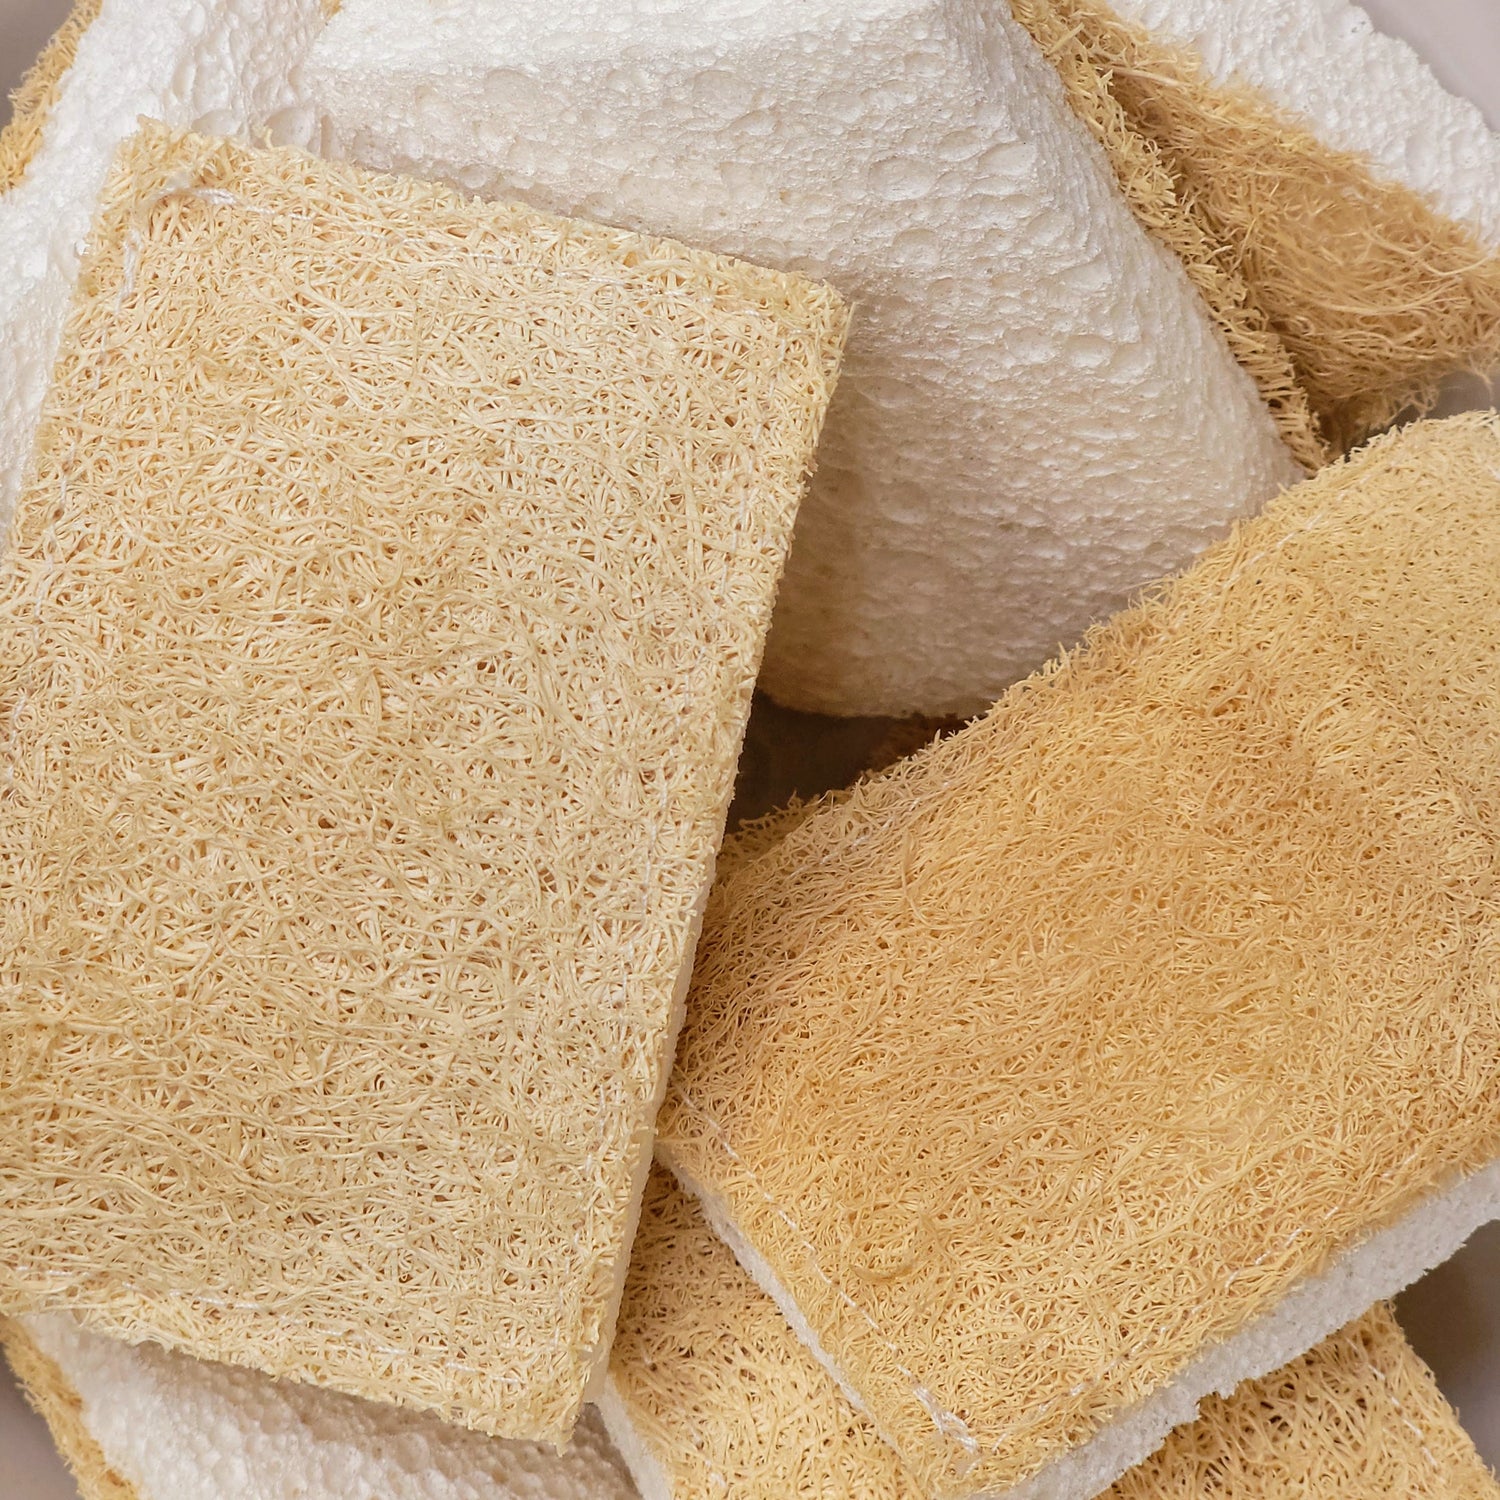
Wash beeswax wraps with a mild soap and cool to cold soapy water. For a deep clean, lay the beeswax wrap flat in your sink and use a soapy sponge, cloth or brush, to wipe away any stuck on food. Then rinse with cool water, and hang to dry. If there isn't any residue on your beeswax wrap - say if was keeping a cucumber fresh, you can also just give it a quick wipe with a damp cloth.
2. No onions please
I was so intrigued by my first set of beeswax wraps that I would use them for everything. This is when I realized that they would take on the smell of particular foods, like onions. Which in turn, led me to try and wash the smell out with hot soapy water - another no no. Furthermore, since you should not wash beeswax wraps with hot water, it is also not recommended to use beeswax wraps for any meat products.
3. No heat, period
Wax melts, end of story. Do no place in the microwave, dishwasher, or oven and let your leftovers cool down before placing your beeswax wraps.
4. Reviving beeswax wraps
If you accidentally wash your beeswax wraps with hot water, or notice they are losing their tackiness, or otherwise - it's not the end all be all! There are a couple ways to revive your beeswax wraps.
Option 1: Place the beeswax wrap between two sheets of parchment paper and use a hot iron to redistribute the wax evenly throughout.
This option is best for beeswax wraps that aren't very old, but perhaps ended up in the wrong place at the wrong time.
Option 2: Add more beeswax, then place the beeswax wrap between two sheets of parchment paper and iron.
I recommend using a Refresher Bar since it is already premixed with the right amounts of beeswax, jojoba oil and tree rosin ideal for beeswax wraps but you can also use plain beeswax. Jojoba oil help beeswax wraps to be malleable and tree rosin makes them sticky and tacky.

Place the beeswax wrap on a piece of parchment paper. If you are using a refresher bar or a beeswax block - you will want to grate it first, then sprinkle it evenly on top of the beeswax wrap. If you have beeswax pellets, simply sprinkle an even distribution throughout. Then apply the second piece of parchment paper on top, before applying a hot iron to melt and distribute the wax evenly.
Remove the top layer of parchment paper and carefully grab two corner edges of the wrap to hold up and lightly fan until dry.
This option is best suited for older wraps that have lost their stickiness, cracking or crumbling.
If you have any questions or comments, drop a line below!


